


BALL NUT INSTALATION

In instances where the ball nut is ordered separately from the screw, it will come pre-attached on a safety mandrel. The safety mandrel is there to prevent the circulating balls within the ball nut from falling out. If this accident occurs during the mountain procedure, please contact the manufacturer or reseller for additional support. Before you commence the mounting procedure, please make sure to clean the screw. Do not forget to use gloves during the cleaning and mounting process or else risk corrosion due to the build-up of moisture on your hand. Once everything is prepared, follow the step by step mounting procedure below.
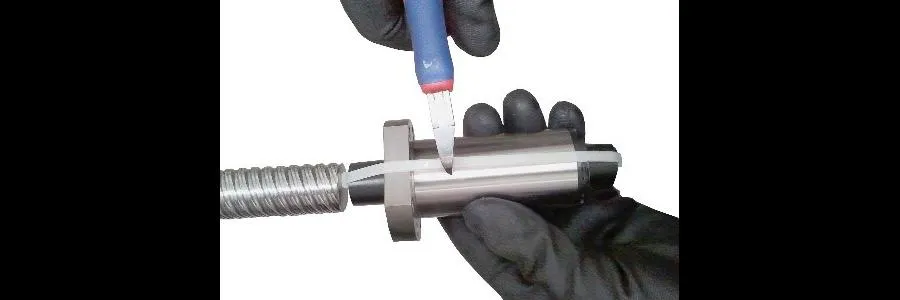
1) Carefully remove the protective band and make sure the mandrel does not slip off.

2) Press one end of the mandrel upon one of the ball screw ends all while holding the ball nut securely.

3) Slowly screw in the ball nut onto the ball screw. The safety mandrel must be securely pressed against the screw end until the ball nut is entirely mounted.

4) Once you ensure the ball nut is fully inserted, remove and safely store the mandrel for later use. The mandrel may come in handy when future disassembly is needed.

Without the guidance of experience, we recommend ordering the ball nut together with a ball screw as it will come pre-mounted and tested by the manufacturer. Still, if that is not an option, please make sure to order the ball screw and or ball nut from the same manufacturer. Different manufacturers have varying tolerance classes, and the components may not fit.


Leave a Comment
Your email address will not be published. Required fields are marked *